Melt and Pour Soap Tutorial
I was mixing up a batch of soap and had my camera out, so i figured- what the heck?
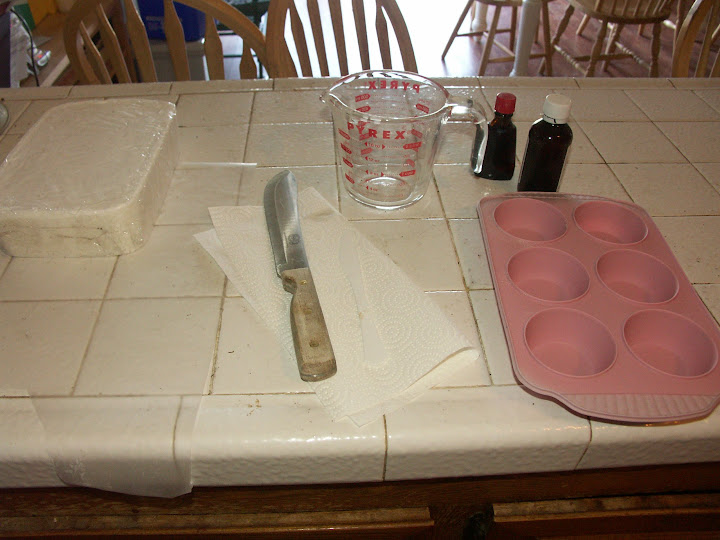 cut the soap with, something to melt the soap in (i use a pyrex 2 cup measuring cup), something to stir the soap with (i use a plastic knife- easy to clean or toss if i'm lazy), your color and fragrance (can be bought in the soap making section of your local craft store, or you can be creative and use things from the kitchen), and your soap molds (i use silicon cupcake pans- easy to pop out the finished product, and they come in different shapes).
So Here's a tutorial on how to make melt and pour soap, my style.
Start with your basic supplies: melt and pour soap base, a knife to
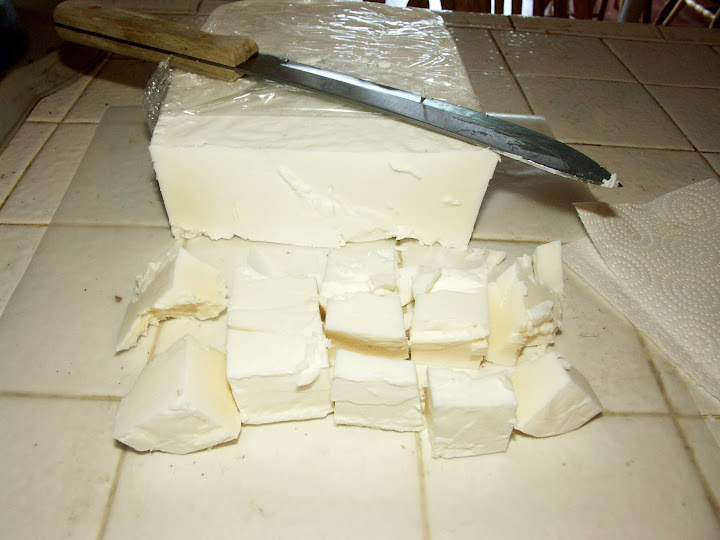
Next you are going to take your soap base and cut it into roughly
one inch cubes. It sort of crumbles a bit for me, so I don't worry too much about it being perfect. Basically, you just want it in smaller pieces so it will fit into your melting container.
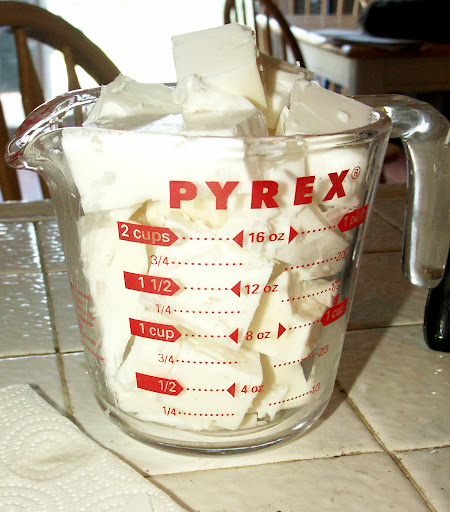
Now you fill up your container. I try to make about two cups of
soap at a time, so I fill my measuring cup so its
almost overfull. When it melts, all the empty spaces get filled in.
Now I put the soap in the microwave. The time will vary depending on your microwave and the amount of soap you are using. For my two cups of soap, I put it in for two minutes. If you are making a smaller batch, you can try putting it in for thirty seconds at a time, stirring in between to make sure its all melty. Be careful not to overcook it. I accidentally did that earlier today, and it was not pretty. I had burnt soap. I didn't even know that was possible until today. It was brown, and smelled funny, and melted the plastic knife I used to stir it with. So don't try it.
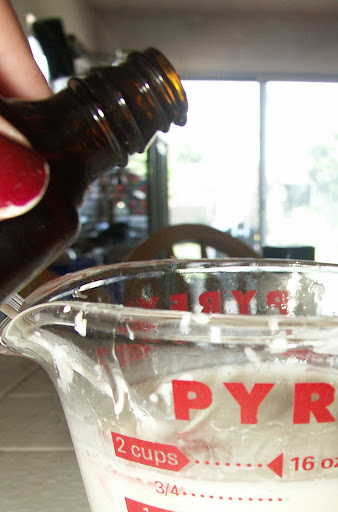
Now you should have nice, smooth, melty soap. Its time to add your fragrance, coloring, and other add ins. The recipe is up to you. I like to raid my kitchen for fun ingredients, like honey and oatmeal. If you do really tiny batches, you can experiment and find out what works best. I like the little candy molds, or th
e silico
n ice cube trays for these... if you come up with a combo that doesn't work, at least you only wasted a tiny bit of soap.
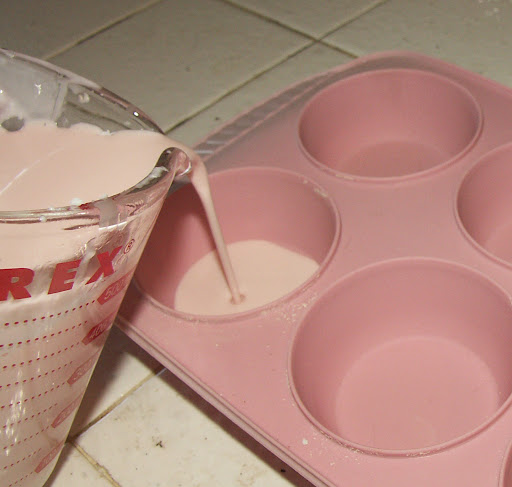
Okay. Now its time to pour your soap into your molds. Keep your molds level. You can use pretty much anything you can think of as a soap mold. I love using silicon, as it makes the soap really easy to come out, and gives it a nice pearly finish. I've also found t
hin plastic hollow toys, cut them down the middle, and used those as molds. Be creative, just make sure that the soap will come out in one piece. You can even just use something like a brownie pan, and make one big soap, then cut it into individual bars. Or if you don't make it too thick, you could even try using metal cookie cutters and cutting out fun soap shapes. Then you can re-melt your scraps, and start all over!
The cupcake trays I use make 2.5 - 3 oz bars, depending on how full i fill them.
If you have pets, make sure to keep your soap away from them. Trust me, its a pain to try to pick off cat hairs from the back of your soaps. Its even worse when you get paw prints in the soap.
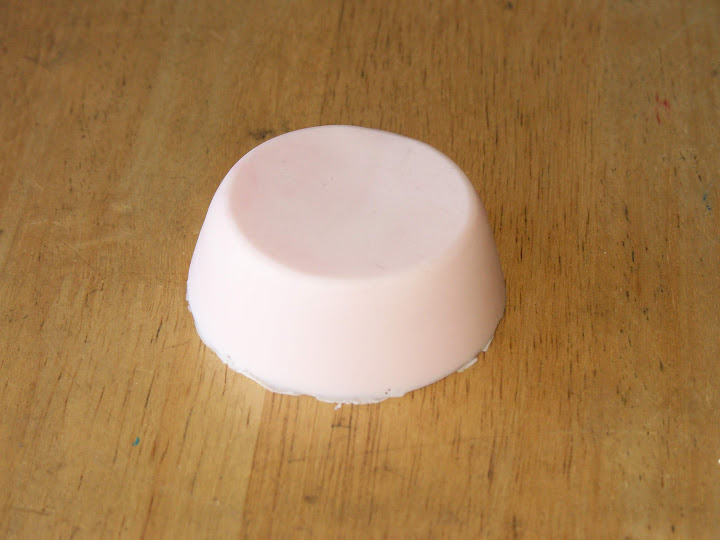
The soaps take a little while to cool. If you are making bigger bars, its going to take longer. Don't rush. You'll end up with smooshed soaps if you try. Just let it sit for a few hours, and when its completely cool and hard. Then you can pop out your soaps, and voila! You've made your very first glycerin soap!
Be careful, its very addicting, because it is a fairly fast process. I love seeing the finished product right away. It can get boring if you just stick with the colors and fragrances from the soap aisle at the craft store. If you experiment with different ingredients, you'll have a lot of fun. Essential oils work great. Extracts not so much, as they contain alcohol which can dry out skin, and the fragrance fades away over time.
Anyways, have fun, and enjoy your new soaps! They make great gifts for friends and family, and its so rewarding to use products that you've made on your own.

